

One of the most frequent questions I am asked is: “How long does it take to make a <something>?” (Usually whatever it is the person is looking at – baby blanket, shawl, throw etc).
While as a production weaver I have to ensure every task in the weaving process is done in the most efficient way possible, there is still a significant, and at times variable, time component. I thought it might be interesting for you to know the various tasks and activities that go into the making of a Loom Room ‘something’.
1. Warp preparation: First I start with a brain activity – working out what I am making and deciding how many of them to make in order to prepare the warp. It takes the nearly the same amount of time to set the loom up for say, one shawl, as it does for several. So, I will make as many items as I can within a single warp. There are two determining factors though – first, how much yarn I have available and secondly, the loom’s natural limitation (about 20 to 25 meters). Once I have decided how many items I want to make, I next work out how wide it will be on the loom, which then determines how many individual warp threads I need. For the purpose of the rest of this article, I am going to talk about making a run of shawls.
There is a little math to calculate the total number of warp threads. My shawls are set up on the loom at about 36 inches wide. The 110/2 wool I use gives a nice finish when set up with 16 warp threads per inch. So, 36 inches total width x 16 threads per inch means 576 individual warp threads are required. To work out how long I need to make each thread I allow 2.5 meters for each shawl which includes length for the fringe. If I want to make five shawls, I am now looking at 12.5 meters plus I need to allow some loom waste to tie on at the front and for the end as you cannot weave every single centimetre. Therefore, I would make this warp a total of 580 threads each 13.5 meters long (it’s always good to have a couple of spare warp threads). If I was making a run of baby blankets, or fabric, which are the full width of the loom, I would need 48 inches x 16 = 768 threads.
Fun fact: While here in NZ we use the metric measuring system somehow with weaving, I have always mixed the metric and imperial measurements up. So, I talk about the number of inches my loom has in width or refer to how many threads per inch, but I will measure and weave length in meters and centimetres! Not sure if I’m just weird or whether this is a weaver thing.
2. Winding the warp: I use a warping mill to measure out the warp. It is a wooden frame with has a 2-metre circumference that spins on a stand. It allows me to measure out my 576 threads to all be the same 13.5 metre length while keeping all the threads neat and orderly. Winding the warp can be done one thread at a time if required, but is obviously quicker to use multiple threads. I have found four threads being wound at the same time is optimal being four times quicker than one. More than four ends up being more trouble than it is worth. For this example warp, I wind threads from four cones of yarn at a time with six- and three-quarter spins to get up to get a 13.5 meters length on the mill, then I wind the four threads back down, repeatedly winding up and down until I have a total of 576 warp threads stacked up on the mill. (See photo below for a multi-coloured warp in progress on the warping mill).

Warping mill
It can take between one and two hours to wind the warp depending on how many cones of yarn I have available to wind at the same time.
Fun fact: My warping mill was made for me for my 21st birthday, back in the late 80s, by a wonderful old weaver from Coromandel called Morrie Hill-Rennie. He is long passed-on now, but he was very skilled with wood and hand make beautiful shuttles, looms and other weaving tools. I was very lucky to receive this gift and here I am, 32 years later, still using it!
Tying a new warp thread by thread to an old one
3. Dressing the loom: I generally tie new warps on from the front of the loom. After I finish the previous run and cut it off, I will leave the remnants from the previous warp knotted at the front of the loom. This way I can tie one new warp thread to one old warp thread and use the old warp thread to pull the new one through the reed and the heddles. Therefore, I tie 576 knots; this takes quite some time (at least a couple of hours, on a good day). I have yet to find a way to speed up this part of the process.
Fun fact: If I am changing the pattern (which I only do very infrequently), I may still tie the new warp to the old warp in order to pull the new threads through before I change the pattern, or I may change the pattern using the old warp threads before I tie on the new. But changing the pattern on the loom takes a full, solid day of work and that is before tying the new warp on.

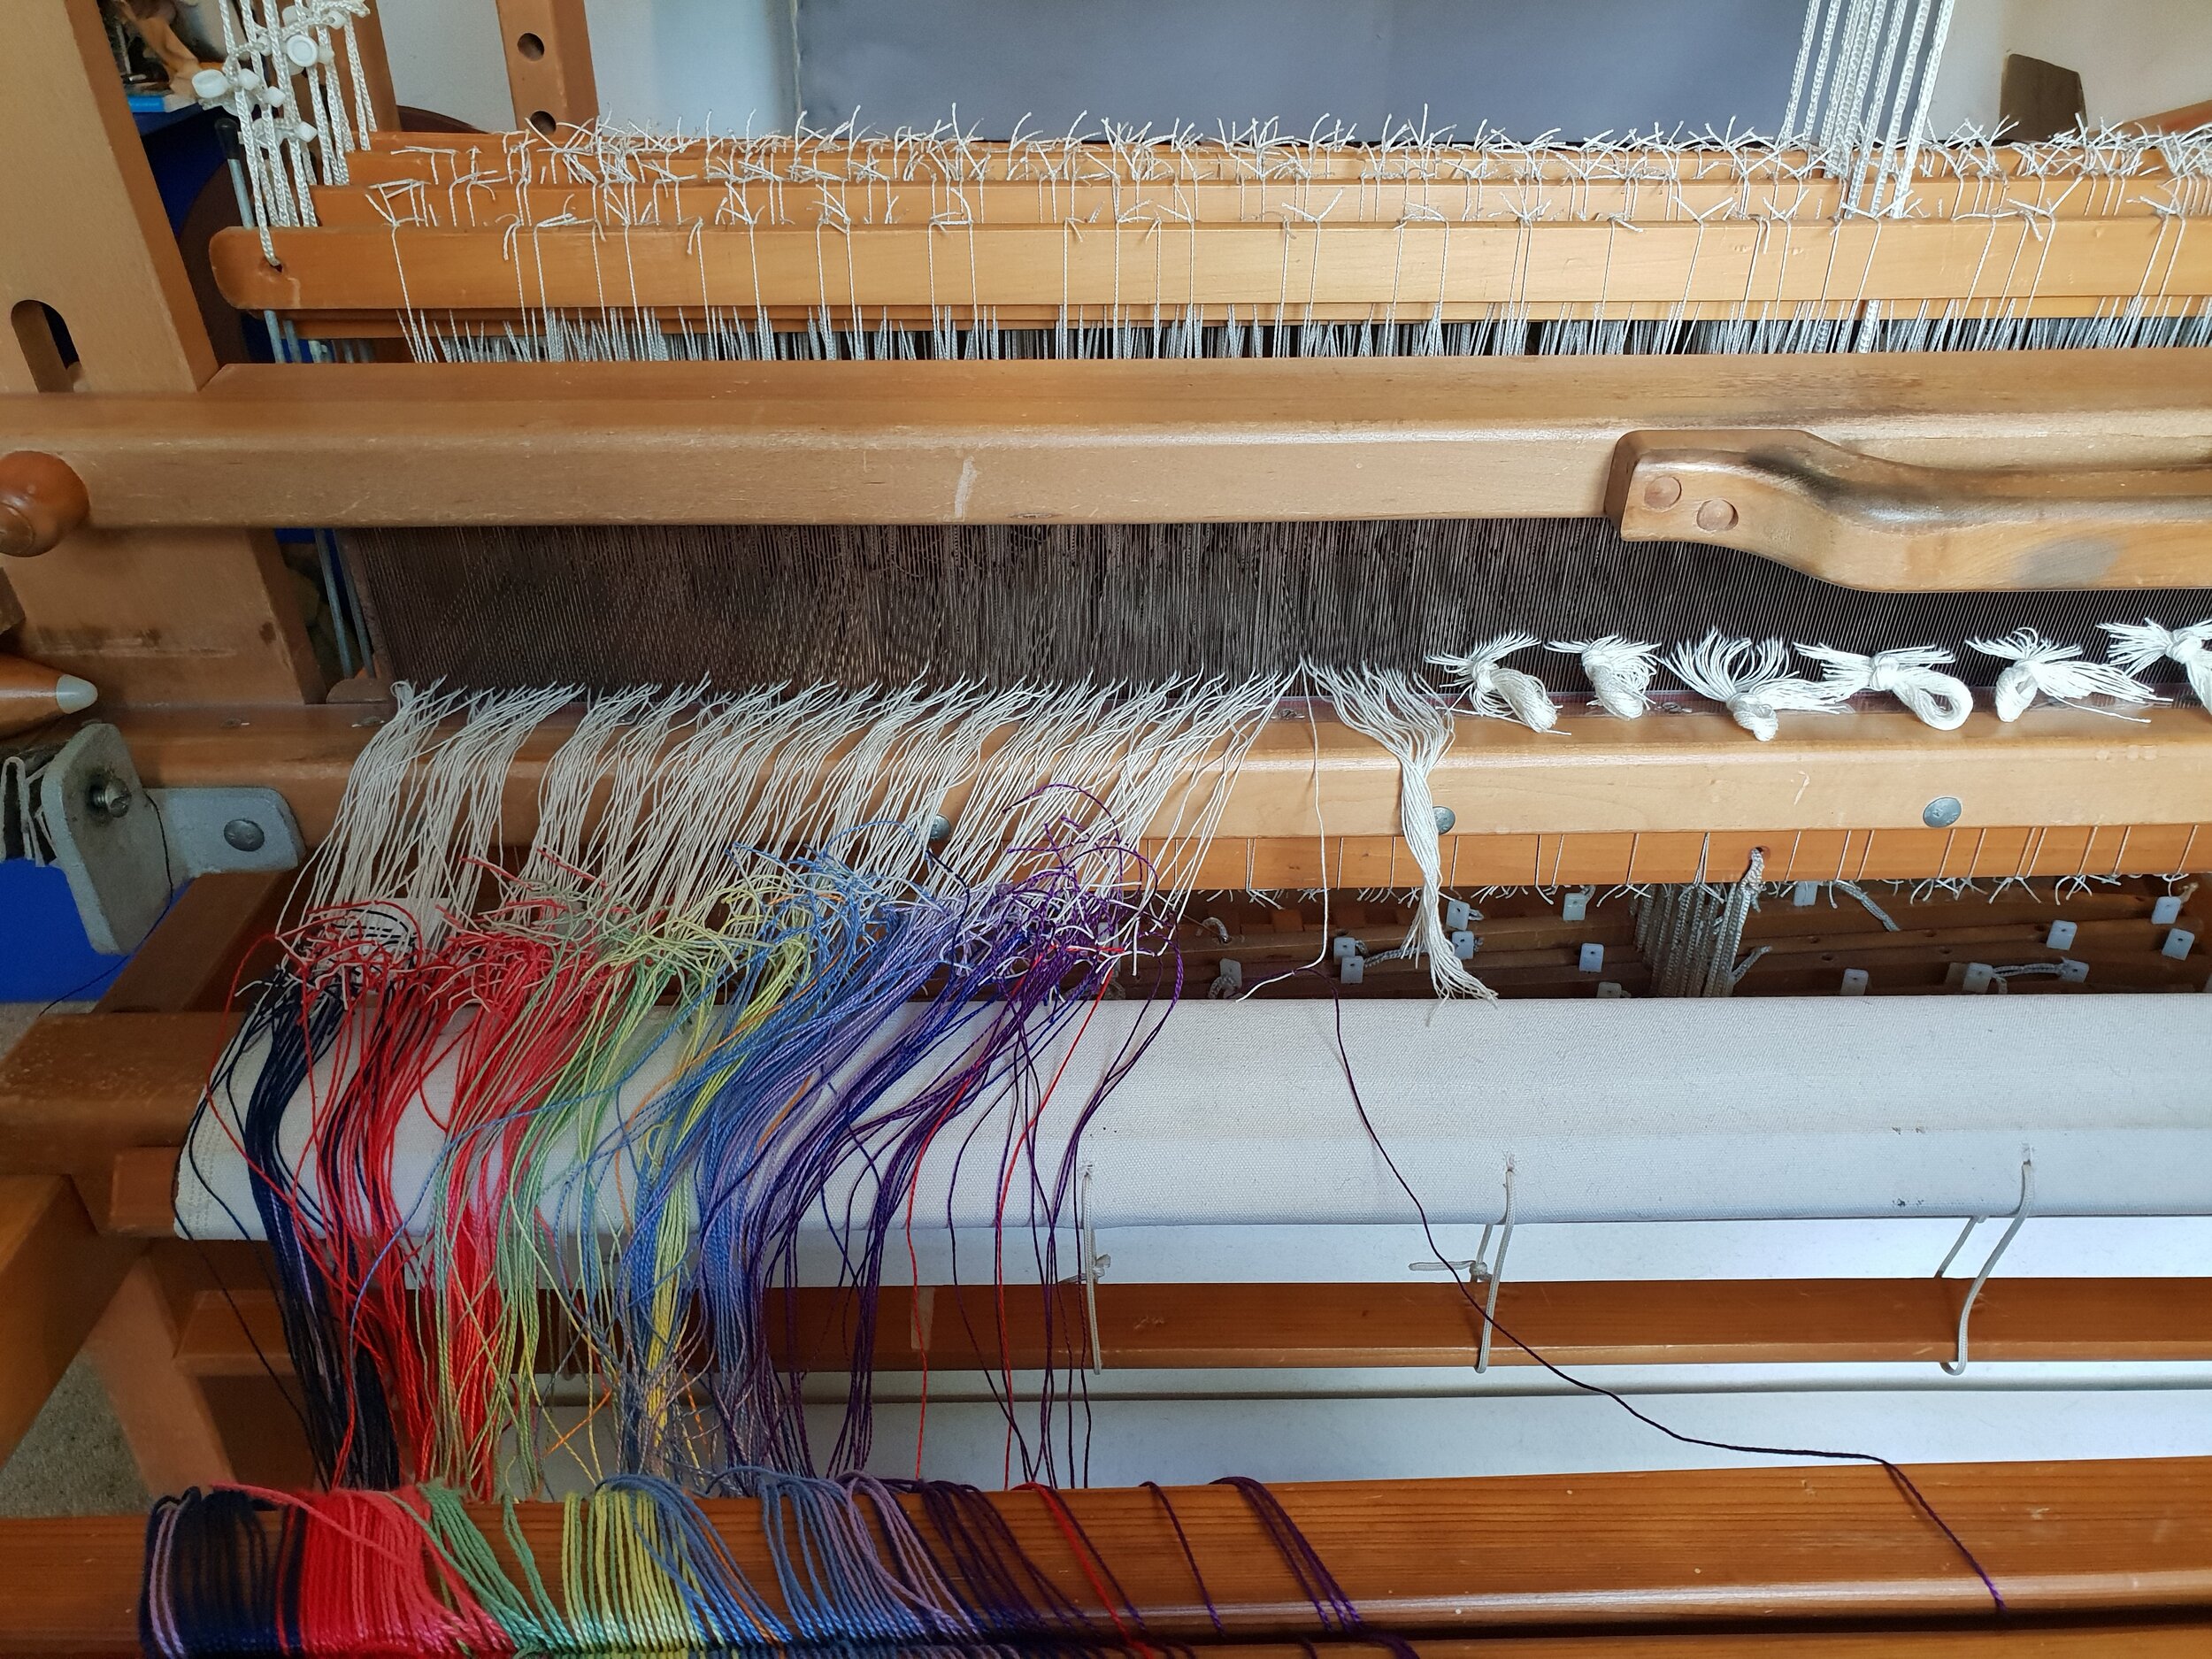
Combed warp ready to be rolled onto back of loom
The second part of dressing the loom happens after each thread of the new warp has been tied one by one to a corresponding thread of the old warp: winding the new warp onto the roller at the back of the loom. This is a two-person job (my husband is happy to volunteer, every time). One person stands at the front of the loom and using a comb to detangle the yarn, removes any pills that might have stuck two or more threads together and then holds the warp evenly and firmly under a reasonable tension at the front of the loom while a second person turns the handle of the back beam and winds the new warp onto the back roller. The second person also inserts sheets of cardboard or heavy paper to separate the layers in order to help maintain an even tension as the warp is slowly wound on. I would expect this to take maybe about 90 minutes for a 13.5 metre warp, but it can go more slowly if the yarn is ‘stickier’ and suffers from more tangles, knots and pills than normal.

New warp all tied onto front apron and ready to weave
Once the new warp has been wound successfully onto the back beam, the ends which are now left at the front of the loom get tied securely and firmly, with an even tension to front of the loom by tying onto the apron of the front beam. Getting the tension even across the front at this point is critical prior to beginning to weave. Once that is achieved though, actual weaving can begin!
4. The weaving process: Anything woven with the finer yarns is made on the fly-shuttle loom (a mechanism which flicks the boat shuttle with the weft back and forth). This makes the weaving a little quicker than using a ski shuttle which is pushed backwards and forwards. Before weaving can commence, bobbins are wound with the relevant weft yarn. I use an electric drill to wind these. A metre of fabric uses anywhere between four and five bobbins, depending on the width and the weft yarn. A fabric using multiple colours (for example, a hand spun weft which is alternated with a commercial yarn every second row) will slow the weaving process down as the bobbin needs to be swopped about regularly.
When the stars align and everything is going well, a metre using a single colour weft can be woven in about an hour’s work. When things are not going as well, for example if warp threads break, extra time is required and progress can be substantially slowed down.
If shawls are being woven, there is an additional step to hem each end of the fringe, which is done while the weaving is still under tension on the loom. This takes about 20 minutes each end, per shawl.
Fun fact: Spinning is a whole other skill and adds probably an extra hour of time per meter to the overall process if the weft has been hand spun.
5. Mending the finished fabric: Once the weaving has been completed, it is removed from the loom (kind of the best part!). Each inch of fabric is inspected closely for broken threads, which are then mended one by one. A good day is when there are not many, a bad day can result in dozens of breaks to mend. Any simple errors like skipped threads are also mended at this stage. Significant errors, like a treadling error might mean a shawl or a blanket is relegated to being a second. Treadling errors stick out like a sore thumb because the pattern is ‘broken’. Structurally, the fabric is perfectly sound; it just doesn’t look good, so in my view, it becomes a ‘second’ and is priced accordingly.

6. Fulling the fabric: Once woven and blemishes have been repaired, the fabric gets ‘fulled’. Fulling is a process that partially shrinks and as a result, stabilises the fabric. We full by hand. A tub is filled with hot, soapy water. The fabric is agitated by hand in the water for two minutes, moving all the time. This causes the fibres to interconnect slightly. Once the timer goes off, the fabric is removed from the hot water and is rinsed in two lots of fresh, lukewarm water. A final rinse is completed with a wool fabric softener. The fabric is placed into an empty automatic washing machine and the spin cycle is run to remove excess water. The fabric is then draped over a clothes rack to dry.

7. Pressing: Once dry, if the finished product is shawls, each individual shawl or throw is pressed with a steam iron and its fringes are combed and trimmed. If the finished products are baby blankets, they are also pressed with a steam iron and then delivered to a dressmaker to add the silk bindings to each end. Finished lengths of fabric are sent to a commercial dry cleaner for pressing.
8. Ready to go! That is the story of the journey from cone of yarn to sale-ready hand woven goods, hand-made in New Zealand by Loom Room. And yes, I do have a lot of patience…

